How to Hook Up Samsung Curved Monitor: A Comprehensive Guide
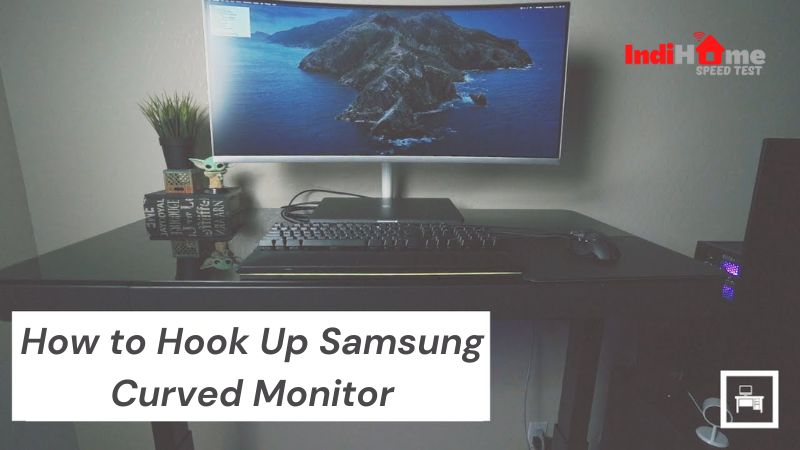
In an era dominated by sleek design and immersive visuals, the Samsung curved monitor stands out as a pinnacle of modern display technology. With its elegant curvature and cutting-edge features, setting up your Samsung curved monitor is the first step toward unlocking a world of immersive computing experiences. In this comprehensive guide, Indihomespeedtest will walk you through the process of how to hook up Samsung curved monitor, ensuring a seamless transition into the realm of superior visual fidelity.
How to Hook Up Samsung Curved Monitor
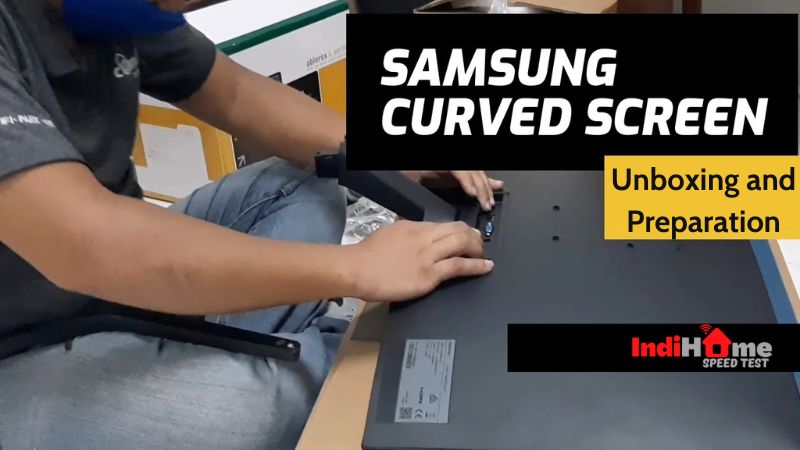
Section 1: Unboxing and Preparation
Before diving into the setup process on how to hook up Samsung curved monitor, it’s essential to ensure that you have all the necessary components at hand. Upon unboxing your Samsung curved monitor, carefully inspect the contents to verify the presence of the monitor itself, stand, power cable, video cables, and any additional accessories provided.
Once you’ve confirmed the completeness of the package, find an appropriate location to set up your monitor. Ensure that you have ample desk space or mounting area, allowing for comfortable viewing and easy accessibility to ports and controls.
Section 2: Assembling the Stand (if applicable)
For those models that come with a stand requiring assembly, follow the step-by-step instructions provided by Samsung. Typically, this involves attaching the stand to the monitor base and securing it using the provided screws. Pay close attention to the orientation and alignment to ensure stability and balance once the monitor is placed on the stand.
Section 3: Connecting Power
With the stand assembled (if necessary), it’s time to power up your Samsung curved monitor. Begin by plugging one end of the power cable into the designated power port on the monitor and the other end into a nearby power outlet. Verify that the outlet is easily accessible and can support the power requirements of the monitor.
Section 4: Connecting to Your Computer
Now comes the pivotal step on how to hook up Samsung curved monitor to your computer, enabling seamless communication between the two devices. Depending on your preference and available ports, you have several options for connectivity:
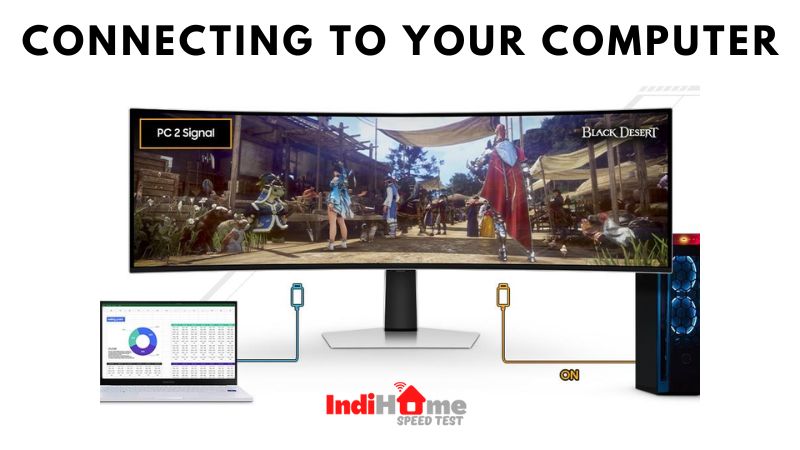
- HDMI Connection: For optimal performance and compatibility, utilize an HDMI cable to connect your monitor to your computer. Plug one end of the HDMI cable into the HDMI port on the back of your monitor and the other end into an available HDMI port on your computer’s graphics card.
- DisplayPort Connection: Alternatively, you can opt for a DisplayPort connection for high-resolution and high-refresh-rate displays. Connect one end of the DisplayPort cable to the corresponding port on your monitor and the other end to an available DisplayPort port on your computer.
- VGA or DVI Connection: While less common in modern setups, older computers may still utilize VGA or DVI connections. If necessary, connect the appropriate cable to the corresponding ports on both your monitor and computer.
Regardless of the connection method chosen, ensure that all connections are secure and snugly fit to prevent any potential signal loss or instability.
Section 5: Securing the Connections
Once all cables are connected, take a moment to double-check the integrity of the connections. Ensure that each cable is securely plugged into its respective port, minimizing the risk of accidental disconnection or signal interruption during operation.
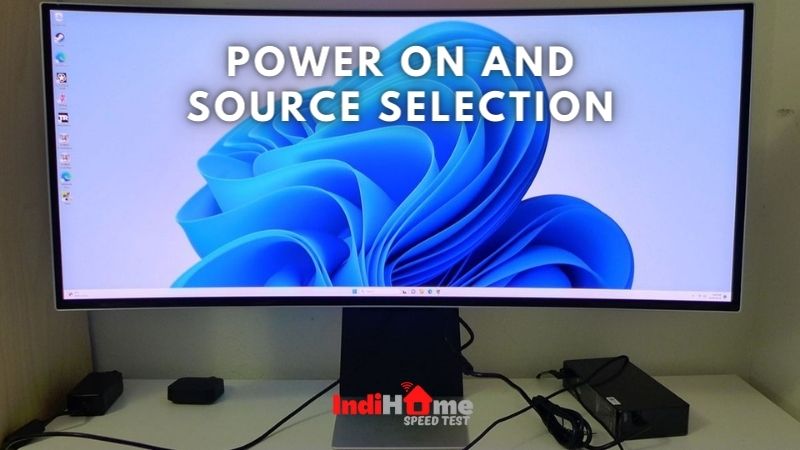
Section 6: Power On and Source Selection
With all connections in place, it’s time to power on your Samsung curved monitor. Locate the power button, typically located along the bottom bezel or rear panel, and press it to initiate the power-up sequence. As the monitor boots up, you may need to adjust the input source to match the connection you’ve utilized (HDMI, DisplayPort, etc.). This can typically be done through the monitor’s menu system or using dedicated input selection buttons.
Section 7: Adjusting Settings (Optional)
Upon successfully powering on your monitor and selecting the correct input source, you may choose to fine-tune various settings to optimize your viewing experience. Use the monitor’s menu buttons or on-screen display (OSD) to adjust parameters such as brightness, contrast, color balance, and resolution to your personal preferences.
Section 8: Installing Drivers (if needed)
In most cases, your computer will automatically recognize and configure your Samsung curved monitor without requiring additional drivers. However, for optimal performance and compatibility, it’s recommended to visit Samsung’s official website and download the latest drivers for your specific monitor model. Follow the provided instructions to install the drivers on your computer, ensuring seamless integration and functionality.
Section 9: Enjoying Your Monitor
With the setup process complete and your Samsung curved monitor fully configured, it’s time to sit back, relax, and immerse yourself in the breathtaking visuals and unparalleled clarity offered by your new display. Whether you’re indulging in gaming marathons, tackling productivity tasks, or simply enjoying multimedia content, your Samsung curved monitor is sure to elevate your computing experience to new heights.
Conclusion:
Mastering the setup of your Samsung curved monitor is the first step toward unlocking a world of immersive computing experiences. By following the comprehensive guide on how to hook up Samsung curved monitor above, you can ensure a seamless and hassle-free setup process, allowing you to enjoy the stunning visuals and superior performance of your monitor with confidence and ease. Harness the power of curvature and embark on a journey of unparalleled visual fidelity with your Samsung curved monitor today!