A Comprehensive Guide on How to Set Up a Samsung Curved Monitor
In the realm of modern computing and entertainment, a quality monitor can make all the difference in the visual experience. Among the plethora of options available, Samsung curved monitors stand out, offering immersive viewing with their innovative design and advanced features. However, setting up a Samsung curved monitor may seem daunting to some users. Fear not, as this comprehensive guide will walk you through the process step by step, ensuring you unleash the full potential of your new display. Let’s with Indihomespeedtest delve into the intricacies of how to set up a Samsung curved monitor.
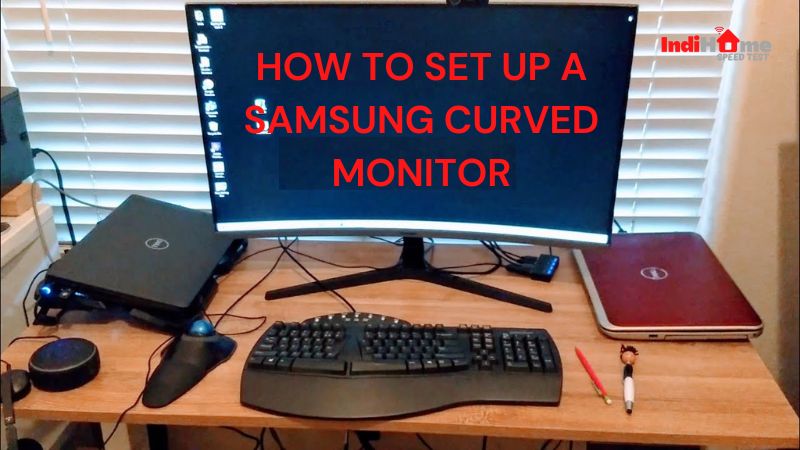
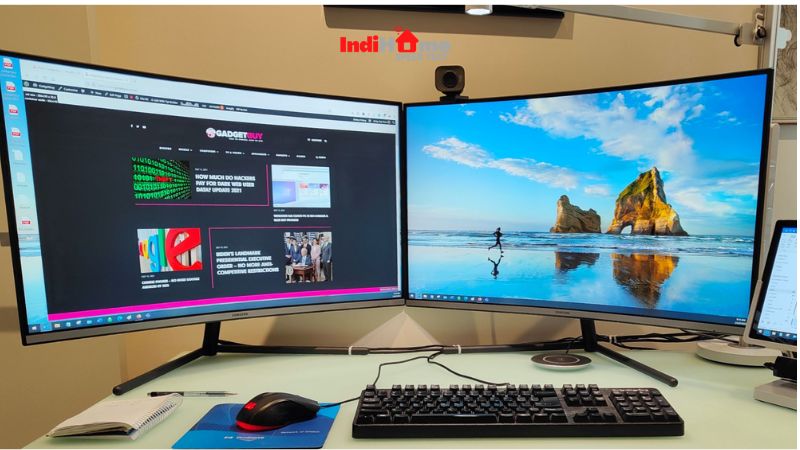
How to Set Up a Samsung Curved Monitor
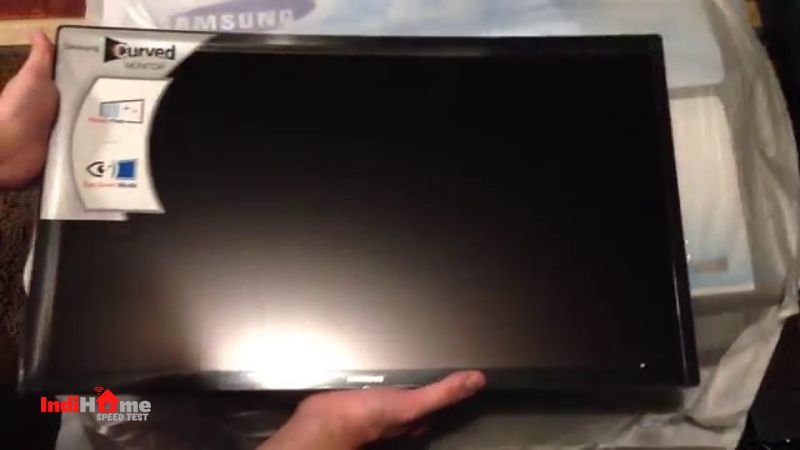
Unboxing and Initial Setup:
The journey of how to set up a samsung curved monitor begins with unboxing. Carefully remove the monitor from its packaging, taking care not to damage any components. Once unboxed, inspect the contents to ensure all necessary components are present, including the monitor itself, stand, power cable, HDMI/DisplayPort cable, and any additional accessories. With everything accounted for, you’re ready to embark on the assembly process.
Assembly:
If your Samsung curved monitor requires assembly, fear not, as the process is straightforward. Refer to the user manual provided with your monitor to guide you through the assembly steps. Typically, this involves attaching the stand to the monitor base or mounting the monitor to an arm or wall bracket. Follow the instructions meticulously to ensure a secure and stable setup. Once assembled, place the monitor on a sturdy surface in your desired location.
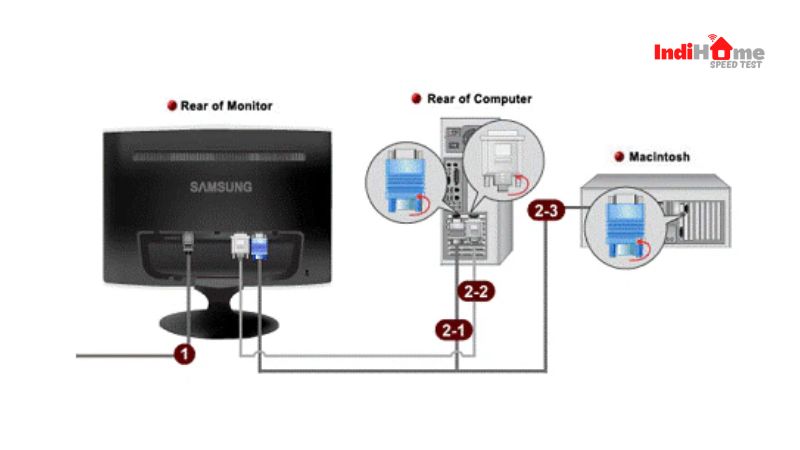
Connecting Cables:
With the physical setup complete, it’s time to establish the necessary connections. Begin by connecting one end of the power cable to the designated port on the monitor and the other end to a power outlet. Ensure the connection is secure to avoid any power-related issues. Next, select the appropriate video cable—HDMI, DisplayPort, or others—and connect one end to the corresponding port on your computer or device and the other end to the monitor. This establishes the primary connection required for displaying content on your Samsung curved monitor.
Power On:
With all cables securely connected, it’s time to power on your Samsung curved monitor. Locate the power button, typically located on the underside or rear of the monitor, and press it to turn the monitor on. As the monitor boots up, you may see the manufacturer’s logo or a blank screen initially. If your monitor supports multiple input sources, you may need to navigate through the on-screen display (OSD) menu to select the correct input source corresponding to the connected device. Follow the on-screen prompts or consult the user manual for guidance on input selection.
Adjusting Settings:
Upon successfully powering on your Samsung curved monitor, it’s essential to fine-tune the settings to your preferences. Utilize the OSD menu to access a plethora of options for adjusting brightness, contrast, color balance, and other display settings. Navigate through the OSD menu using the directional buttons on the monitor, making adjustments as desired. Take your time to explore the various settings and customize them to suit your viewing preferences and environmental conditions. This step ensures an optimal viewing experience tailored to your needs.
Mounting (Optional):
If you opt to mount your Samsung curved monitor on a wall or arm, additional steps are required. Refer to the user manual for instructions specific to your monitor model and the type of mounting hardware you’re using. Ensure the mounting hardware is securely attached to the monitor and can support its weight without risk of instability or damage. Once mounted, double-check the alignment and stability of the monitor to ensure a safe and secure setup.
Software Installation (Optional):
Some Samsung curved monitors come with proprietary software that enhances the user experience and unlocks additional features. If provided, follow the instructions in the user manual to install the accompanying software on your computer. This software may allow you to adjust monitor settings, access advanced features, or update firmware for optimal performance. Installation is typically straightforward, requiring you to run the setup file and follow the on-screen prompts. Once installed, explore the software’s capabilities and leverage its functionalities to further enhance your monitor experience.
Calibration (Optional):
For users seeking the utmost precision and accuracy in color reproduction, calibration is paramount. While optional, calibrating your Samsung curved monitor can significantly improve color accuracy and overall image quality. Utilize calibration tools or software to adjust color settings, gamma levels, and other parameters according to industry standards or personal preferences. Follow the instructions provided with your calibration tool or consult online resources for guidance on the calibration process. With proper calibration, you’ll enjoy vibrant colors and lifelike visuals on your Samsung curved monitor.
Conclusion:
Congratulations! You’ve successfully navigated the intricate process on how to set up a samsung curved monitor. From unboxing to calibration, each step is crucial in unlocking the full potential of your display. By following this comprehensive guide, you’ve ensured an immersive and visually stunning experience tailored to your preferences. Whether for work, gaming, or multimedia consumption, your Samsung curved monitor is now ready to deliver unparalleled performance. Embrace the curved revolution and immerse yourself in a world of captivating visuals with your newly set up Samsung curved monitor.
Remember, if you encounter any difficulties or have specific questions regarding your Samsung curved monitor setup, don’t hesitate to refer to the user manual or reach out to Samsung’s customer support for assistance. Enjoy your newfound visual paradise!